Projects
Saving and loading projects
Save project
To save a project, select “File / Save project as” in the file menu and assign a new name for your project.
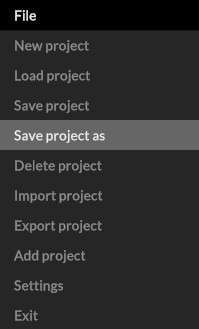

Alternatively, you can also overwrite an existing project by selecting it from the top list and confirming with “Save”.
To save future changes in your current project, simply select “File / Save”.
Load project
To load a saved project, go to “File / Load project” via the file menu.
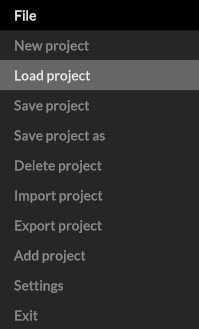
Attention: You will be asked whether you want to save your current project. Make the appropriate selection here to access the project manager, where you can view and select your saved projects in the top list.
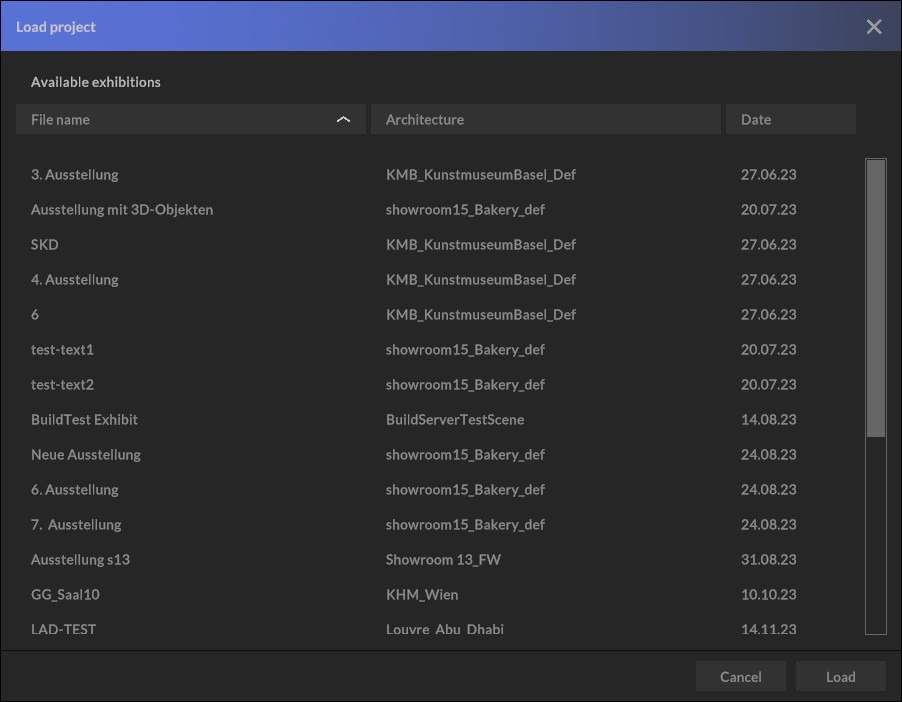
Click on “Load” to confirm your selection and the project will be loaded.
Projects
Exporting and importing
Export project
Exporting a project has the advantage of permanently archiving your project externally and also making it available to other team members.
To export a project, select “File / Export project” in the file menu and assign a new name for your project file.
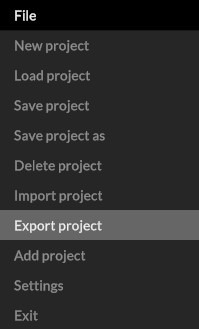
This file (*.c3darch file) not only stores all exhibits, whether 2D or 3D data and temporary architecture, but also the placement of objects on walls and floors as well as the wall coloring.
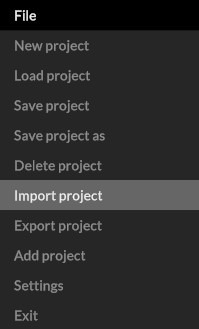
Import project
To import a project, select “File / Import project” in the file menu and then select the *.c3darch archive file in your file explorer. Depending on the size of the project and the computing power of your computer, the import may take a little while, as all the contents have to be unpacked and loaded into your architecture.
Projects
Merge projects
The “Add project” menu item is a powerful tool for working on a project with several curators. For example, divide up the rooms, artists and exhibits and then bring your work together.
1) Import your exhibits and move into the room to begin placement.
2) Design your rooms and place the exhibits in the room.
3) Save your exhibition by clicking on “File / Save project”. Proceed in the same way with the remaining rooms and exhibits.
4) Open the main project and add all other designed showrooms using “File / Add project”.
Note:
If you are working on separate computers, first export your project via: ” File / Export project” and send the created archive file to a team member.
This archive file must first be loaded via: ” File / Import project” and then saved locally via: “File / Save project as”.
The main project file is then opened and the missing exhibits are added by simply adding the desired project via: ” File / Add project”.